NRF52
- talk about chip features
- show ring speed for packets, compared to NRF24
Programming the NRF52
Programming involves two steps: 1) compiling code, and 2) flashing the code to the chip.
Thanks to the folks at Adafruit, you can use the Arduino IDE to perform both steps. Instruction on installing the appropriate libraries can be found here.
To build the toolchain for compilation manually, you can follow the instructions on this page (starting at heading "GNU ARM Compiler").
The steps for flashing your code depends on what board and programmer you have.
Adafruit Feather NRF52 Board
This is a great board; I would highly recommend it for NRF52 projects.
This board comes flashed with a Serial DFU bootloader and it has an onboard USB-to-Serial converter. This allows you to program it simply with a USB cable.
Custom board with Segger J-Link
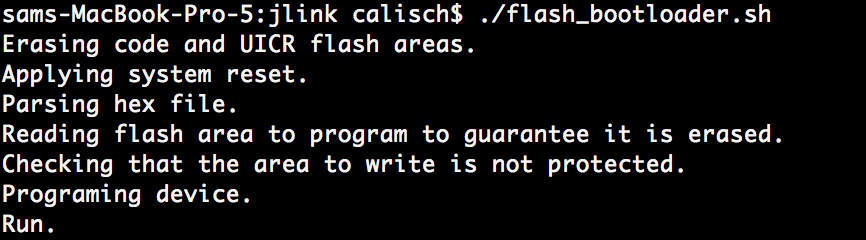
The Segger J-Link is a very helpful tool, but it's quite expensive. With it, we can use Nordic's command line utilities, including nrfjprog. I wrote a shell script with three commands to erase, flash the adafruit bootloader, and then start the chip running.
nrfjprog -f nrf52 --eraseall
nrfjprog -f nrf52 --program feather52_bootloader_v050_s132_v201.hex
nrfjprog -f nrf52 --run
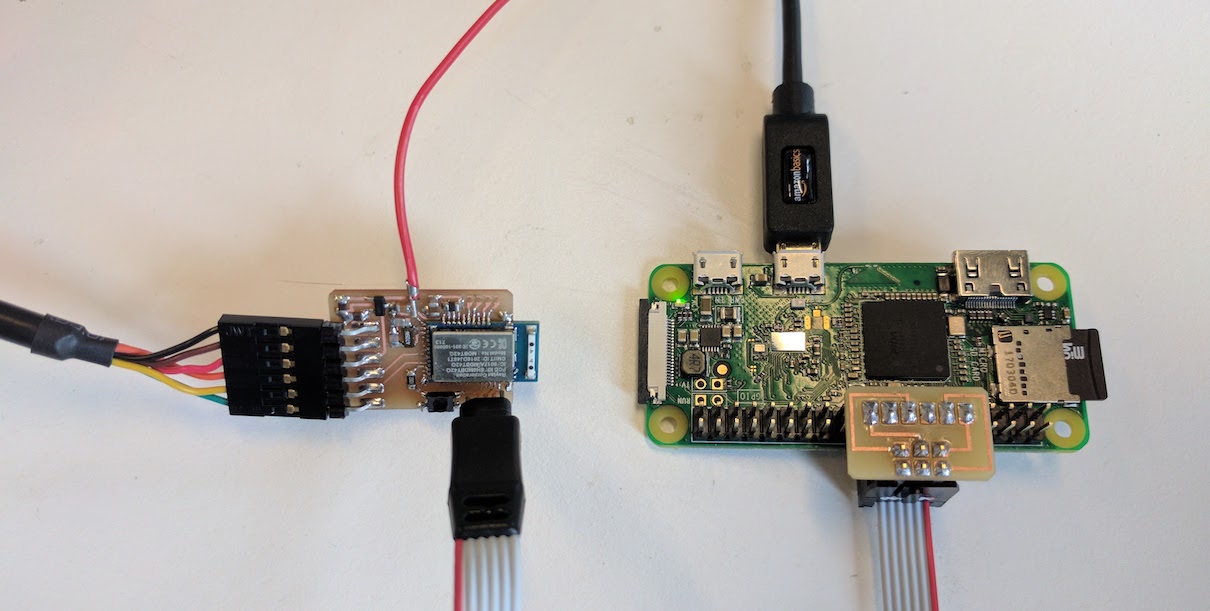
The J-Link requires a wire to ensure the target has power. In the image above, red is target power (3.3V), black is ground, green is SWDCLK, and blue is SWDIO.
Custom board with OpenOCD and Raspberry Pi
You don't have to spend hundreds on a J-Link (even though it is very nice). Using OpenOCD, we can make a Raspberry Pi bit-bang the programming protocols.
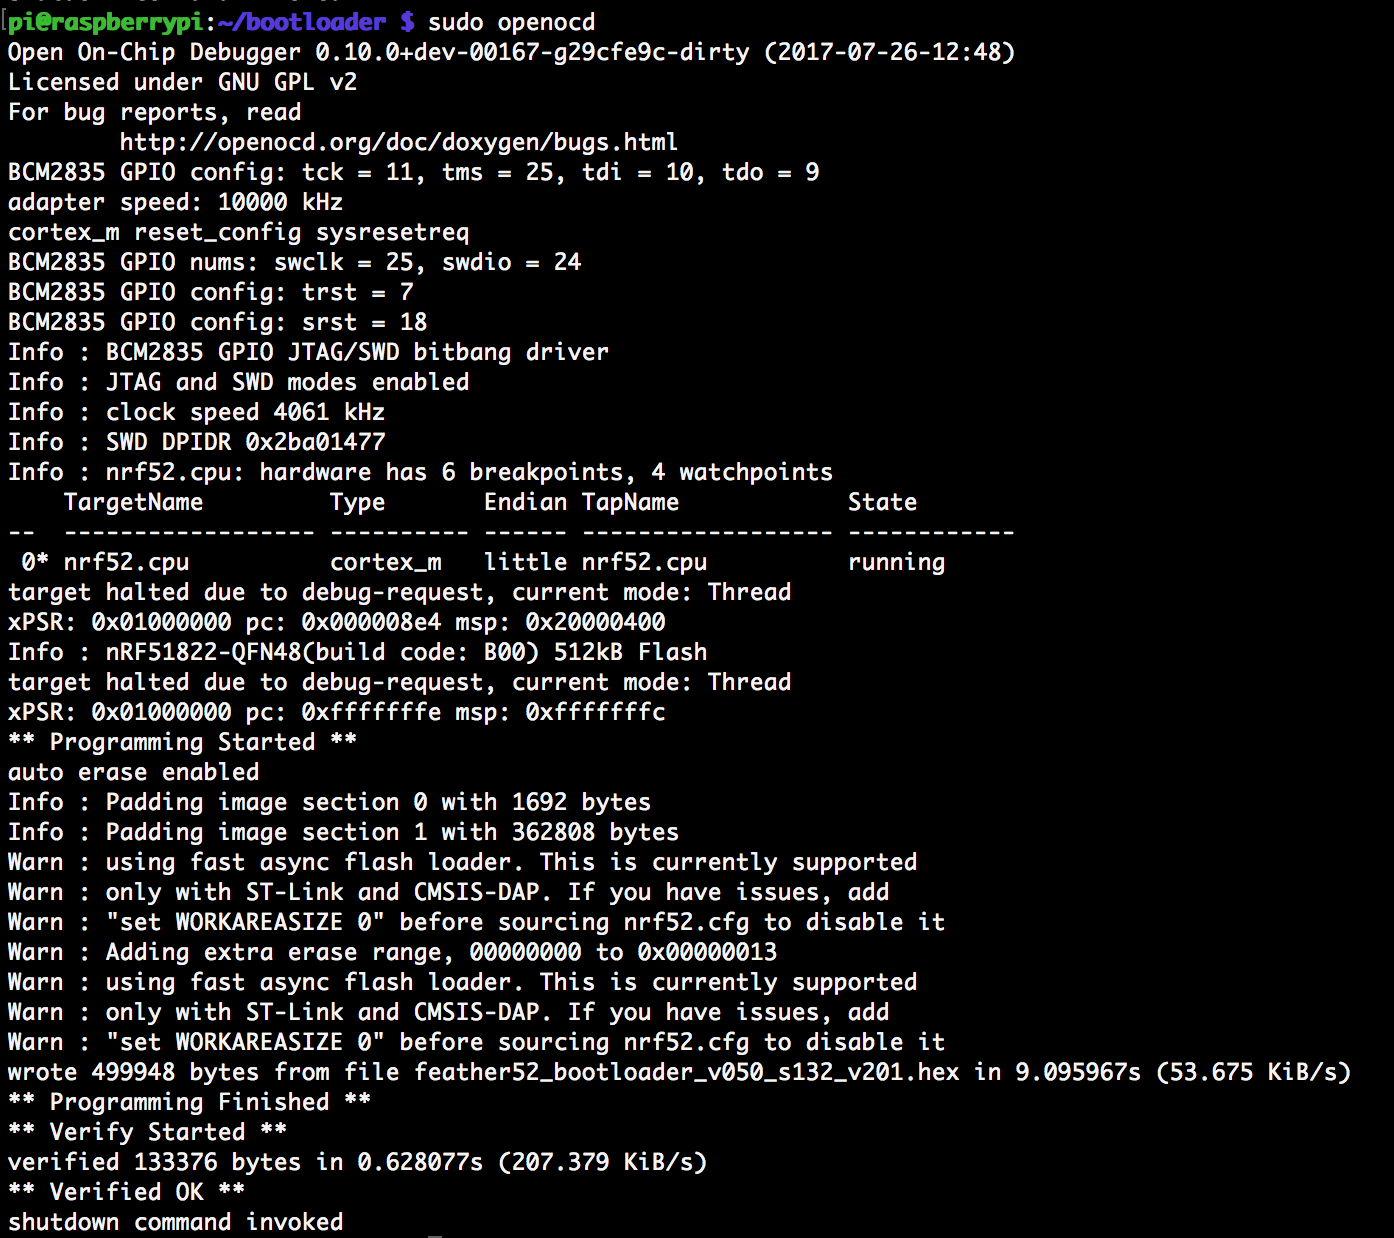
Support for the NRF52 is not in the stable release of OpenOCD as of V 0.10, but you can patch it following the instructions on this page. They worked for me, with the small addition that I needed to eliminate two duplicate variable definitions that broke my build.